


")
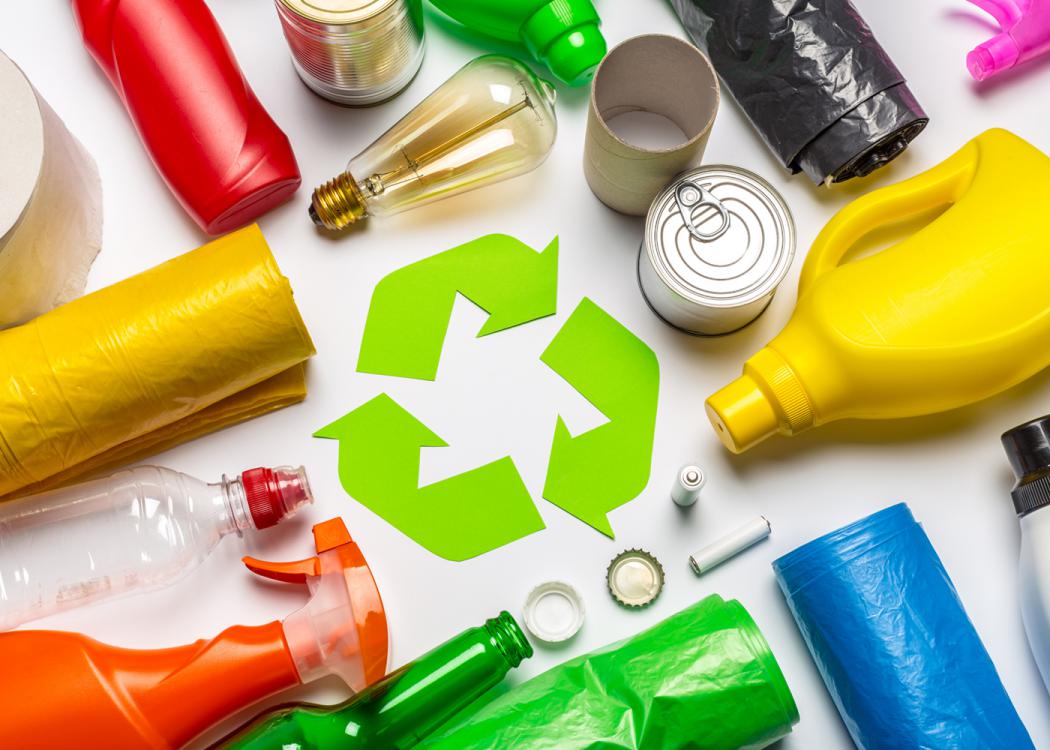
Out of the seven types of plastics that are manufactured, only two of them are commonly recycled. Making a few different choices can help cut down on the plastics that end up in the landfill. (Photo by fotofabrika/stock.adobe.com)
Extension for Real Life Blog
")
")
Pages
Select Your County Office
Watch


Extension Matters Magazine

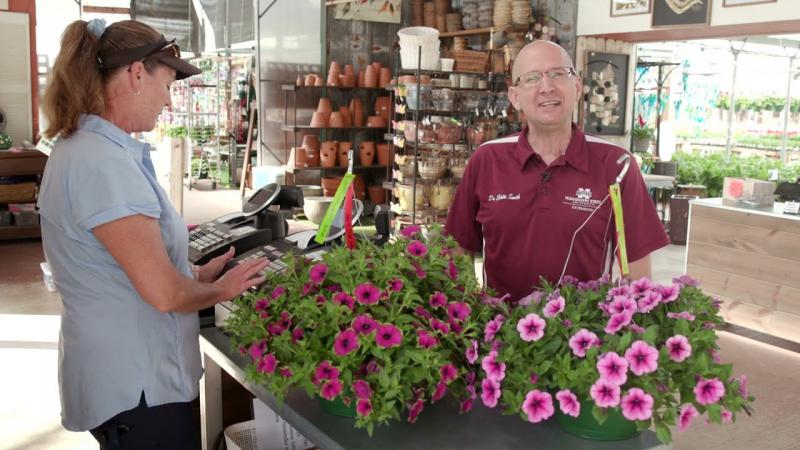
Teri Wyly, co-owner of La Terre Farms in Hancock County
Upcoming Events
Recent Publications
Publication Number: P3994
Publication Number: P2364
Publication Number: P1446
Publication Number: P3980
Publication Number: P3111